
Start with a decision question, not an endless product feed
A spreadsheet should reduce uncertainty before it increases choice. Begin by writing one buying question at the top of your shortlist: what gap should this item fill, how often will you use it, and what would make you reject it? A vague goal such as “find good shoes” produces dozens of tabs and no decision. A useful goal is narrower: “find a neutral walking shoe that works with straight trousers, fits my measured foot length, and stays within my shipping budget.” The same method applies to a hoodie, jacket, pair of trousers, or bag. Once the job is precise, every LoveGoBuy spreadsheet row can be scored against the same standard.
Before opening any product detail page, scan the row for category, product name, image, destination, and any notes already available. Treat these fields as navigation clues, not verified specifications. A title may be abbreviated, translated, or inconsistent with the available variation. A thumbnail may represent only one color. A listed price can change. The spreadsheet earns its value by helping you choose what deserves inspection; the current product page remains the place to confirm options. Keep three spreadsheet columns of your own: “must verify,” “evidence found,” and “decision.” This separates facts from assumptions and prevents a promising thumbnail from silently becoming a purchase commitment.
Use a simple first-pass status: keep, compare, or remove. Keep an item only when its role is obvious. Compare it when two products solve the same problem but differ in shape, material, price, or estimated shipping weight. Remove it when a required feature is missing or cannot be verified. If you are new to the process, review the LoveGoBuy buyer route and spreadsheet finds, browse the complete LoveGoBuy guide archive, and open the OutfitReps product categories only when you need a broader alternative. The objective is a smaller, evidence-based shortlist.
Keep the working sheet readable enough that you can audit it later. Use one row per exact product URL, not one row per broad style idea. Store numeric measurements in consistent units and place seller wording in a separate notes field so the two are never confused. Add a “checked on” date because a link that worked last month may show different options today. A source-image column, a selected-variation column, and a rejection-reason column are especially useful. They make duplicate links, unconfirmed colors, and repeated wardrobe roles visible without opening every page. Freeze the key identity columns, use filters instead of decorative color everywhere, and avoid formulas that hide the original product value. The sheet should remain understandable even when viewed on a small screen during an agent check.
Read five different product rows as verification examples
The five listings below cover separate product types so you can practice changing the questions you ask. They are examples of how a LoveGoBuy spreadsheet can route you toward a specific product detail page; they are not a recommendation to buy all five. Open the linked page, compare it with the saved spreadsheet row, and record only information that you can see or measure. If a listing changes, update your row instead of relying on an old screenshot. Product availability, options, wording, and price should always be checked at the destination.
Self-operated 20250328
A brief shoe title gives you very little evidence, so the spreadsheet should flag the missing details rather than fill them with guesses. On the product page, identify the exact color and available size options, inspect side, heel, toe, outsole, and label images, and look for a measurement reference. Record foot length and the inside-length guidance separately because a familiar size number can fit differently across listings. Also note sole thickness and upper structure, since both affect packed volume and expected shipping weight.
Check this shoe detail page
Trendy simple and versatile hoodie 34
For a hoodie, replace general labels such as “versatile” with measurable questions. Add chest width, body length, shoulder width, sleeve length, fabric description, and visible lining to your verification columns. Decide whether you want a compact layer or an oversized silhouette before choosing a size. Compare the listing measurements with a hoodie you already wear, measured flat in the same places. When QC photos arrive, check the selected color, overall symmetry, pocket position, cuffs, hem, zipper or drawcord details, and any visible marks.
Check this hoodie detail page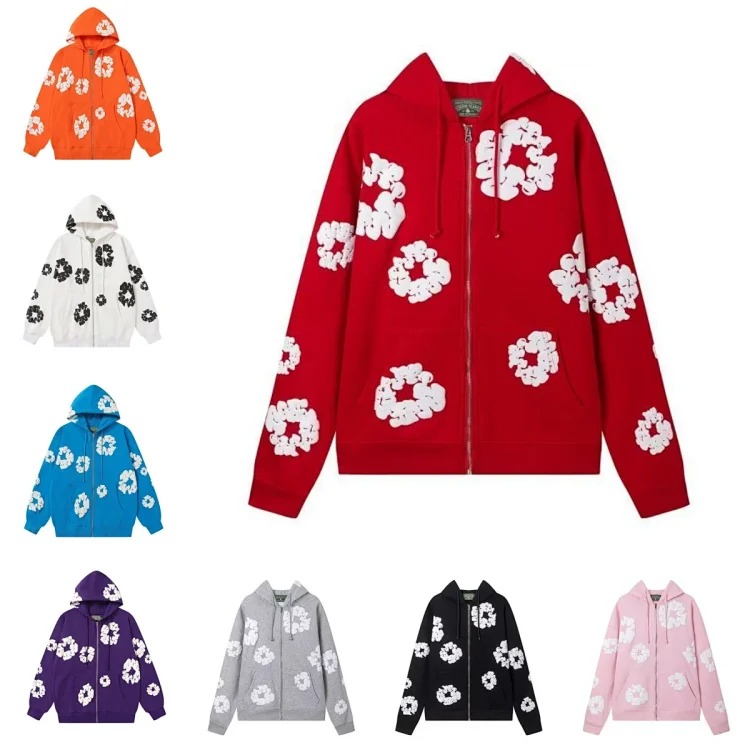
Shirt jacket Ralph Lauren
A shirt jacket needs a role in your layering system. In the spreadsheet, record whether it must fit over a tee, knit, or hoodie, then compare garment measurements with that intended base. Use product images to review collar shape, closure, pocket placement, hem length, and apparent material weight without assuming composition from appearance alone. Note any missing construction view you may want in warehouse photos. A heavier or structured jacket can materially affect consolidation and shipping, so keep estimated weight as an open field until the agent supplies it.
Check this jacket detail page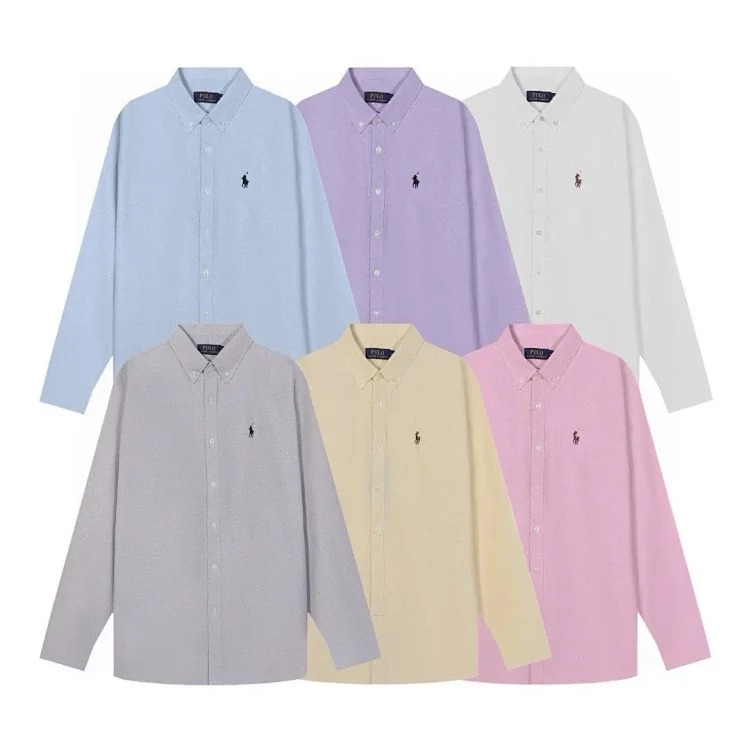
Casual DTJacket/Jeans DGBatch
Trouser research should separate waist labels from actual dimensions. Save waist width, rise, inseam, thigh, hem opening, and total length whenever those measurements are available. Compare them with a pair that fits in the silhouette you want, not simply with your body measurement. Use the image to judge wash placement, leg shape, pocket layout, and how the fabric falls, but avoid treating one posed photograph as proof of fit. In QC, confirm the ordered variation, measure key points, inspect seams and hardware, and look for unexpected marks or strong asymmetry.
Check this pants detail page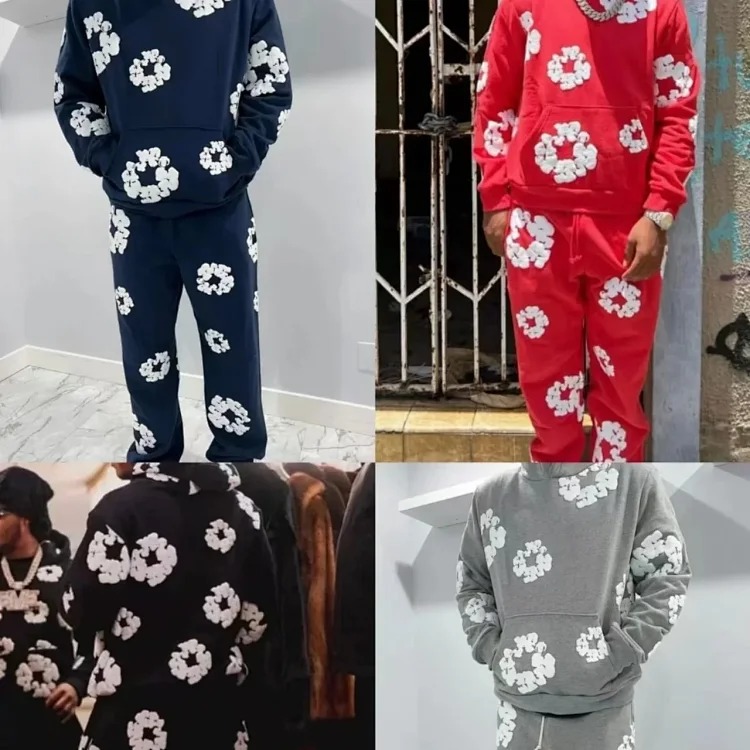
Dior D Oblique Jacquard Messenger Bag
A bag row should answer capacity and construction questions before style questions. Record external dimensions, strap range, closure, compartment layout, hardware color, and the objects you expect to carry. Compare listed dimensions with a familiar bag or make a paper outline to understand scale. Product wording may describe material or construction in ways that you cannot independently confirm, so preserve it as seller-provided information and verify visible details through images. During QC, review panel alignment, edge finishing, strap attachment, closure operation, interior condition, and hardware consistency.
Check this bag detail page
Move from product detail checks to QC, agent route, and shipping
After a row survives product-detail review, change its status from “research” to “agent check.” Copy the exact URL, selected color, selected size, and any seller option wording into the order note. Save a screenshot of the chosen variation so you can compare it later. Do not combine products into a shipping plan yet. First wait for warehouse intake and complete QC one item at a time. Review whether the correct model and variation arrived, compare important measurements, and inspect the visible condition. Ask for an additional photo only when it answers a defined question, such as the insole length, zipper track, interior label, or bag base.
Use a compact QC status system in the spreadsheet: pending, pass, question, exchange, or remove. Add a note explaining the reason, because a colored cell alone will not help when you return days later. A pass means the visible evidence satisfies your own requirements; it does not make a claim about authenticity or guarantee performance. A question should name the missing evidence. If the response changes the item’s usability, resolve it before international shipping. You can compare this process with the measurement and coordination advice in the Minimal Neutral Capsule Outfit Guide.
- Match the warehouse item to the saved product URL, option, color, and size.
- Compare critical measurements with the reference garment recorded in your spreadsheet.
- Review visible seams, panels, closures, soles, hardware, and condition as relevant.
- Record a reason for every pass, question, exchange, or removal decision.
- Use confirmed warehouse weight and dimensions when estimating international shipping.
Only after every item reaches a final QC decision should the agent route move to consolidation. Add actual weight, estimated package volume, removable packaging, and any protection requirement to the sheet. Shoes and structured bags may consume more space than lighter clothing, while a jacket or hoodie may be compressible. Compare available shipping routes using the complete parcel rather than the cheapest item-level estimate. Consider tracking, restrictions, delivery expectations, declared information, and the cost of optional packaging. The spreadsheet should show the total landed-cost estimate beside the item price so a low product price does not hide a high shipping burden.
Use the LoveGoBuy spreadsheet as a record of evidence
A dependable LoveGoBuy spreadsheet does not tell you what to buy. It records why a product entered the shortlist, what you verified on the live page, how its measurements compare with something you own, what the QC images showed, and whether the final shipping plan still makes sense. That record makes it easier to reject duplicate roles, identify missing information, and return to a decision without reopening every tab. Keep the row concise, link to evidence, and update it whenever the listing or warehouse information changes.
The safest workflow is sequential: define the need, shortlist from the spreadsheet, open the exact buy link, verify product details, compare size information, submit a precise agent order, complete QC, and only then plan shipping. The five examples above demonstrate different questions rather than a fixed basket. Start with one category, test the method, and refine the columns that help you make a clear decision. A smaller spreadsheet with current evidence is more useful than a large collection of unverified links.